10 Tips for Picking Paint Colors


Master Bedroom Pictures From HGTV Dream Home 2017 28 Photos
See how a color palette
combining a rich navy blue with pure white accents makes this master
bedroom an ideal space for resting and relaxing.
See the Master Bedroom

Popular Videos: Picking Paint Colors 7 Videos
HGTV's Top Color Picks
See All Photos
Check out our favorite "color of the month" ideas from the past few years.
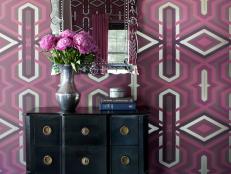
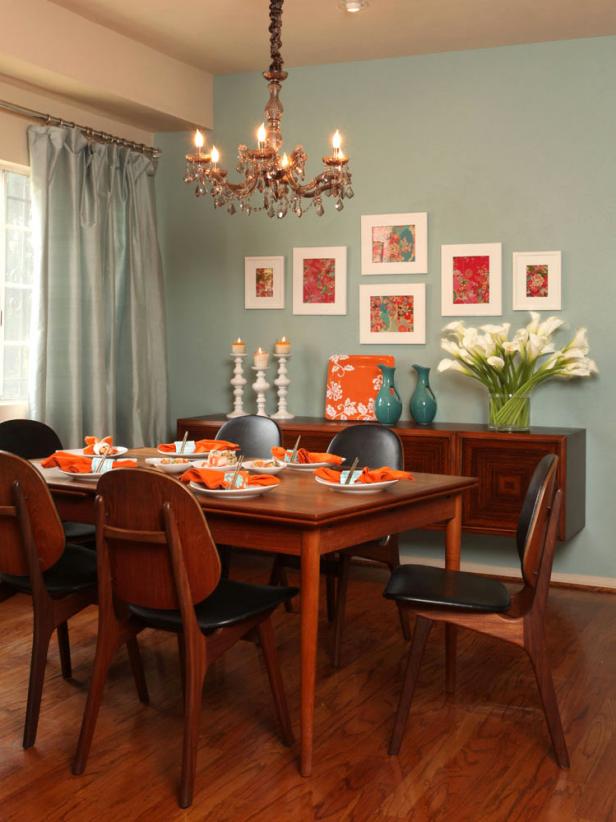
Start Small

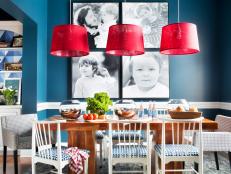
Think About Your Mood
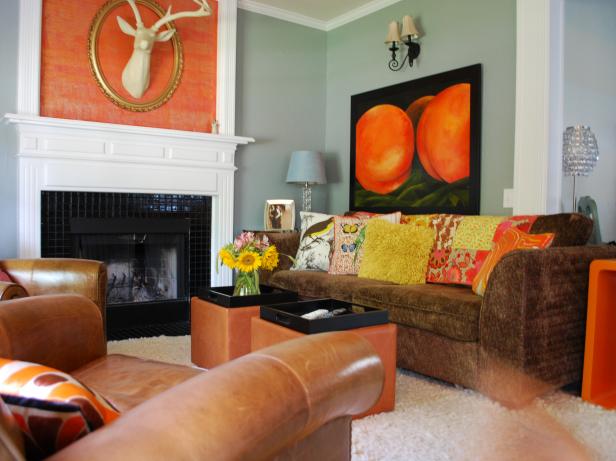
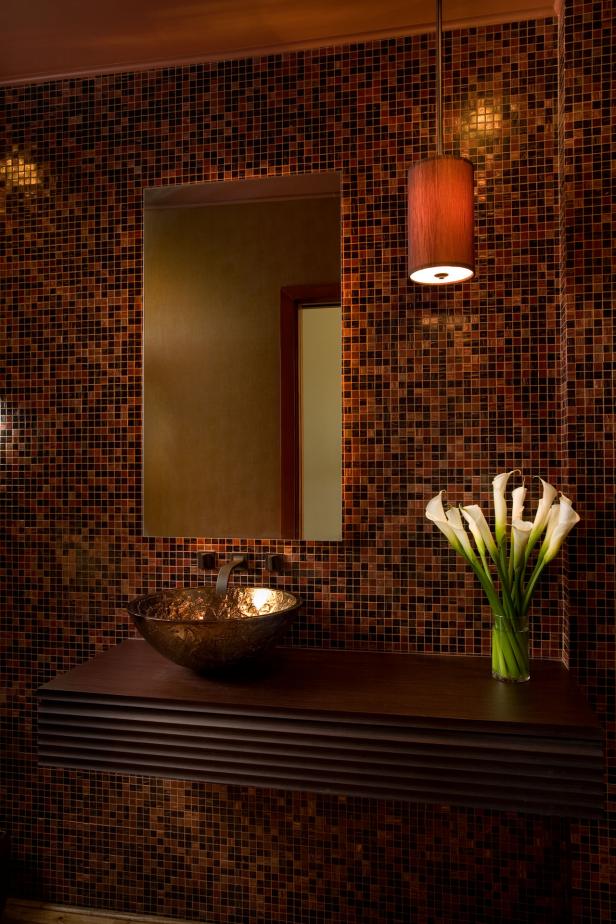
Pay Attention to Lighting
- Natural daylight shows the truest color;
- Incandescent lighting brings out warm tones and yellows;
- Fluorescent lighting casts a sharp blue tone.

Design by Andreas Charalambous
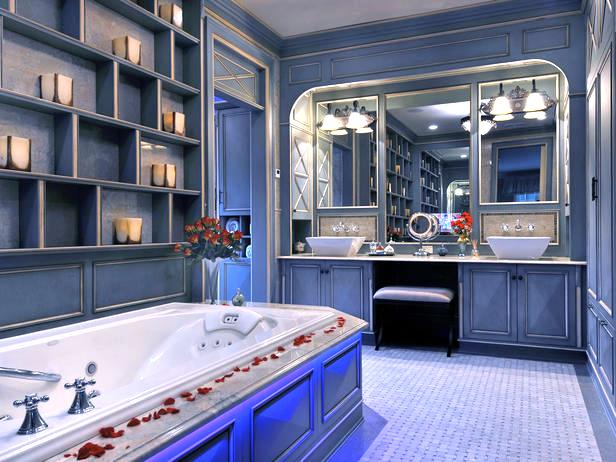
Learn the Color Terms
- Hue is what we call a color. Red is the hue; blue is the hue.
- The value of the hue is how light or dark it is.
- Saturation refers to how dominant the hue is. As we go from red to pink, the red hue becomes less dominant.
- Intensity is the brilliance of the color. The pure colors such as
red are more intense than the combined colors such as yellow-green. A
stronger intense color usually has a more dominant hue.

Design by Shelly Riehl David
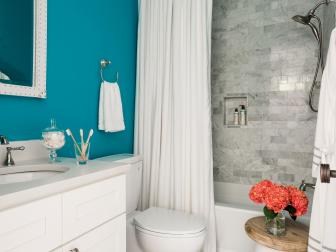
Test Your Color Choice

Design by Sherrill Canet
Add Depth With Decorative Finishes

Design by Payton Addison
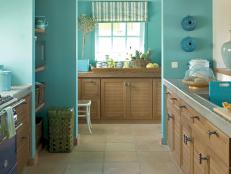
Walk Into Another Room

Design by Amy Bubier
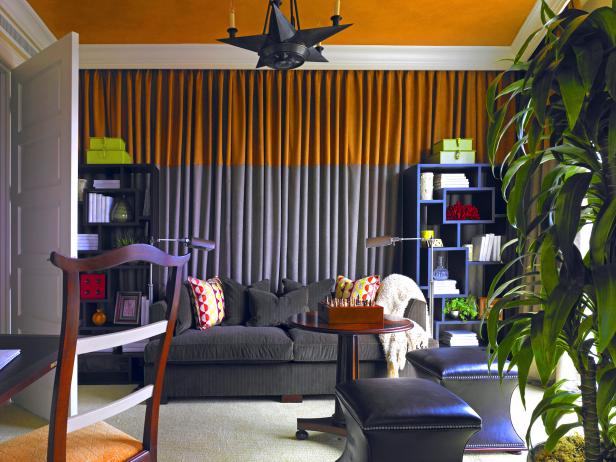
Follow the Color Wheel

Number one color rule for a small space? There are no rules! Mixing colors can help bring a personal touch to your space.
Play Up Monochromatic Schemes

Design by Nicole Sassaman
Choose Different Paint Finishes

Design by Lori Dennis
More from:
Renovation Survival Guide
The Latest From Our Blogs
Catch up on the latest HGTV show and design news right here.


Shop This Look
Found a living space you love in HGTV's Photo Library? Get the look in your own home with products from Wayfair.


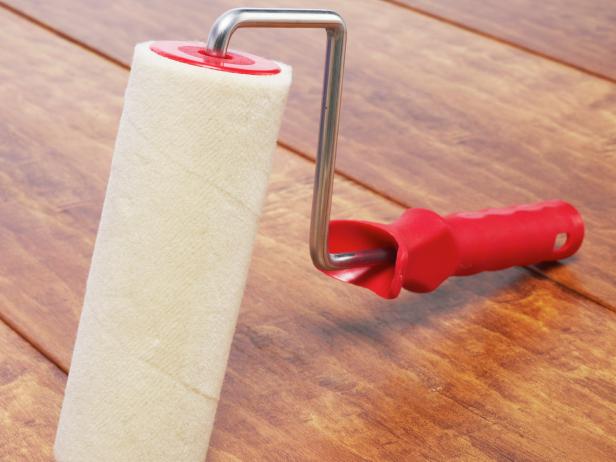

Painting Dos and Don'ts
Follow these helpful hints for your next painting project.
|
|
|
|
By:
Jennifer Huskey
Related To:
Dos


Don'ts


Source: HGTV
TOCON Pro Painters
http://www.tocon.ca
amazing !!! good work. keep it up. find amazing product
ReplyDeletefrom here.
amazing !!! good work. keep it up. find list of best sprayer
ReplyDeletefrom here.
This article was written by a real thinking writer without a doubt. I agree many of the with the solid points made by the writer. I’ll be back day in and day for further new updates. painters and decorators chester
ReplyDeleteThank you for this very useful article
ReplyDeleteشركة رش مبيدات بأبها
Good article! Check also my website Toronto Painters
ReplyDeleteNice post about house painting. Find a wide range of house painting services in Calgary by our expert painters to rehabilitate your house and offices to look like new.
ReplyDeleteNice post about choosing top quality color combination to decorate your house. Expert residential painters in Calgary can suggest best color choose for your house.
ReplyDeleteThe positive comments and do well wishes are very motivational and greatly appreciated.
ReplyDeleteBest Interior Painters Services Toronto
These tips for choosing paint colors are so helpful! You've covered everything from testing swatches to considering lighting and adjacent colors. Picking the right shades can be challenging, but these pointers make the process much more approachable. For businesses in need of a fresh look, hiring commercial painting contractors Sydney is a great option. Their experience and attention to detail can make a significant impact on the overall aesthetic of your commercial space. Whether it's for an office, restaurant, or retail store, professionals can help you create a welcoming environment. Thanks for sharing these insights—perfect for anyone embarking on a painting project!
ReplyDelete